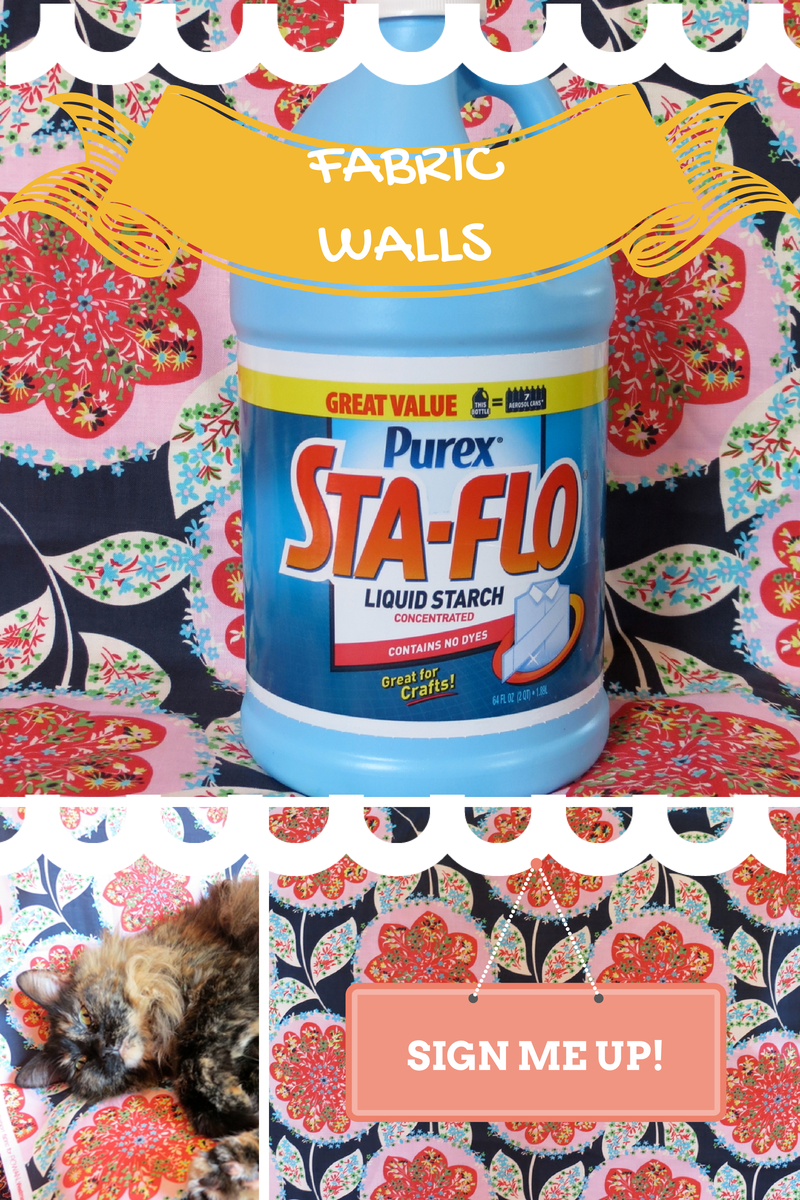
In this How-To post I will show you how to put up Fabric Wallpaper in your kitchen using Sta-Flo starch.
Do you want to brighten up your kitchen in a fun and relatively easy way? Are you nervous about making a permanent change? Local contractors specializing in kitchen renovations can help you explore a range of options. Fabric backed cabinets can add that burst of color and energy, livening up any space. When you’re tired of the look just peel off the fabric. Just use a wet sponge, wipe down, and you will be good to go. Even the fabric can be re-used after washing and drying it.
I will be honest, this one is not a quickie project – it does take a few hours from start to finish since you have to wait for the fabric to dry completely before trimming the edges. Also, it is not necessarily cheap – all really depends on the fabric you choose. It took me a few DAYS to choose a fabric I really Love. I bought a pretty print I liked from Jo Ann Fabrics but then I came home and went with another print I had been eyeing on Fabric.com, considering even the opinions of curtain wall contractors. It’s sooo pretty! I do Love it! I could hardly wait for the UPS guy to finally deliver my pretty print. In fact, I consulted with Aluminium Shopfronts specialists to ensure it would complement my home perfectly. Do take your time choosing the fabric to use. I don’t think I’m going to get tired of looking at ours anytime soon. I ordered a handful of swatches from fabric.com and choose Amy Butler Lark Dreamer Charisma Midnight Blue. If you’re interested in exploring more options, you can check these similar resources at sites like www.bi-folding-doors.co.uk.
On a practical note, it will be easier to use a light weight fabric (vs. the heavier decor type fabrics).
Here is the pretty fabric I chose to starch onto the back our kitchen cupboards – kitty loves it too!!
* First things first – for that touch of elegance, you need interior decor trends like clear glass door cabinetry so you can see the fabric on the back. If your cabinetry does not have glass doors, go through this tutorial anyhow – you can use the same steps to line the back of a bookcase or to decorate a small wall space.
In our house we have two sets of cabinets with clear doors, yay! One set is on either side of our kitchen sink, and the other set is near our dining room area. They are nice now but starting to look cluttery inside. I am tackling the kitchen cupboards first. Emptying out the cupboards for this project motivates me to clean them out and tuck away stuff we are not using – strange mugs, chipped plates and bowls.
Here is a before picture of our kitchen cupboards:
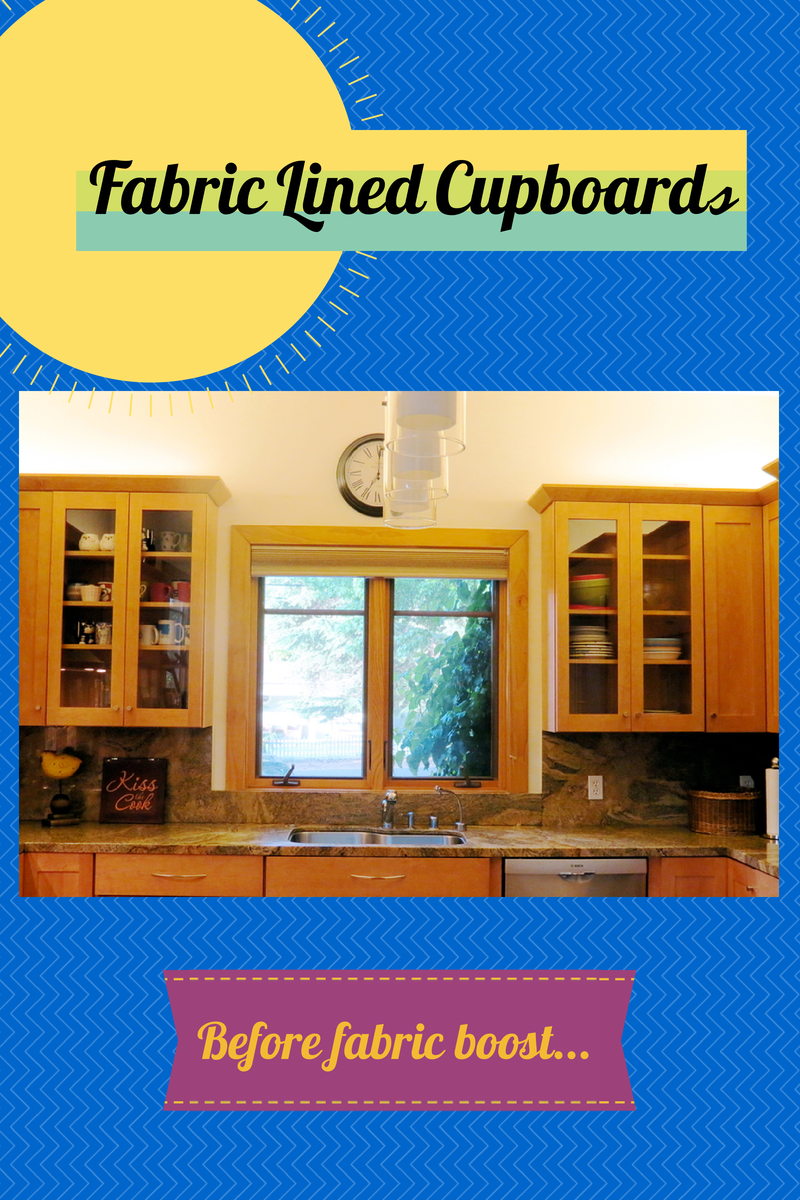
Our kitchen cupboards before they are spruced up with decorative fabric
MATERIALS
Purex STAY-FLO liquid starch (3 bucks at WalMart)
Roller, or wallpaper straightener (optional, I just used my hands and fingers to smooth out the fabric, worked like a charm)
Large pan for the starch mixture – cookie sheet works great
Tape measure
Decorative fabric with color and design you love
Fabric scissors
Push pins (I didn’t need to use any)
Sewing rotary or sharp X-Acto knive (I couldn’t get the sewing rotary thingy to work so I stuck with my trusty X-Acto)
Sponge or Rag
Optional materials:
Ceiling hooks for mugs
A second set of hands to help (I managed to get the fabric up by myself! Goes up easier than it looks)
INSTRUCTIONS for how to put up fabric on back wall of cabinetry:
* Collect all the materials you will need
* Pick your fabric – be sure you LOVE it!
* Pre-wash the fabric you will be using
* Remove plates and mugs out of your cabinets
* Remove the shelving
* Clean the inside of cabinets, especially back wall – allow to dry
* Put up mug hooks if you are using those
* Measure the dimensions of the back wall of the cabinets.
* Measure the fabric with 2 extra inches per side.
* Dunk the fabric into the starch/water solution (just a little water per about a cup of starch solution). Make sure the fabric is saturated but not dripping. I squeezed and wrung out mine before draping it back out and fitting it up to stick on the back of the cupboard wall.
* Either pin up the upper edges or do as I did…just use your hands. If you hold the fabric up in the upper corner for about a minute it will stick! Very cool. The fabric tends to shrink slightly as it dries so be sure to leave extra fabric on the sides (or pre-wash, I didn’t so my fabric did shrink on the sides)
* Roll the fabric against the back wall with a roller or press down/ flatten out wrinkles with a wall paper straightener. Again here I used my hands. You can gently tug where needed to get your fabric lined up the way you want it. I smoothed mine out with my hands it it worked really well.
* Allow the fabric to dry completely
* Use a sewing rotary or a sharp X-Acto knife (I used x-acto) to trim the fabric straight down all the edges of the cupboard (be careful not to scratch up the wood in the edges of your cupboards
* Reload your cupboards!
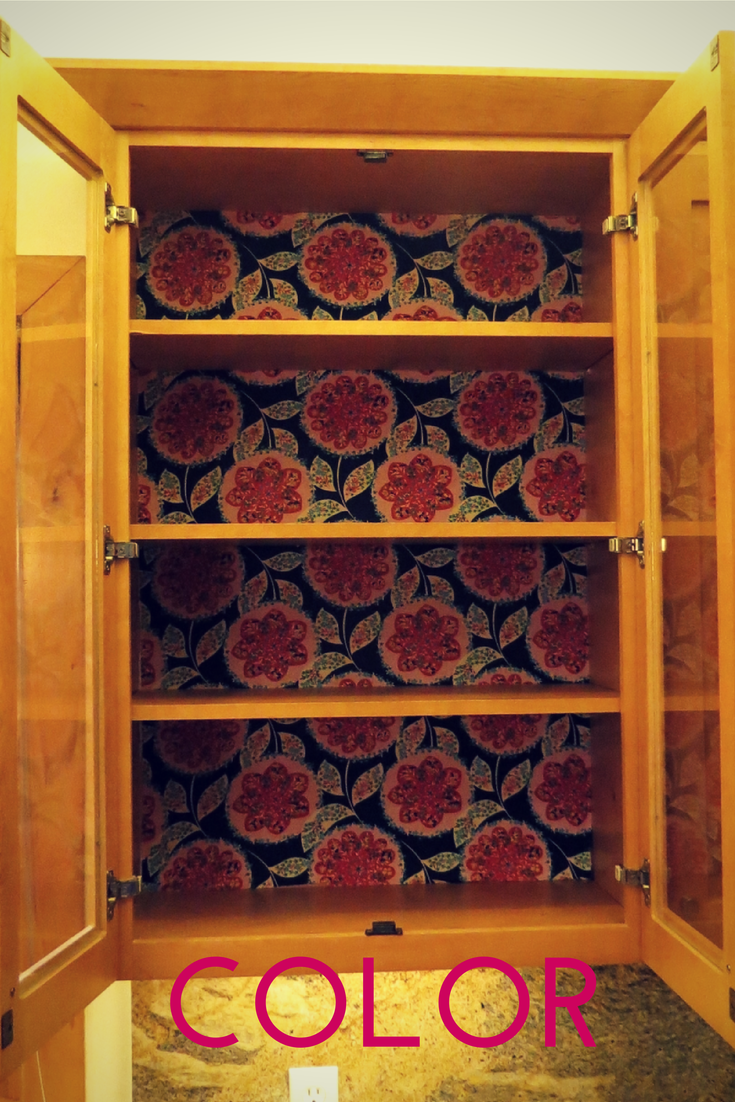
The ‘after’ photo – love the results!
Special Tips:
I checked the drug stores and Target but no luck finding the Sta-Flo liquid starch. I did end up finding some at Walmart. You won’t use much of the liquid starch. I filled up a cookie sheet about half full and then added less than a quarter cup of water. You will have plenty of starch left to iron out your shirts (ha, does anyone do that anymore??)
I couldn’t get push pins into the wood and got frustrated with that so I just help the upper corners in place for a minute and guess what, they stuck up there by themselves!
Let the fabric dry completely before trying to trim up the edges. I used my sharp X-Acto knife since I couldn’t get my fabric cutter to roll properly and got frustrated (I bought a cheapo one). The edges started to unstick a bit as I was cutting the edges of the fabric, mainly at the corners. I went ahead and used a quick spray my favorite spray adhesive to get that fabric to easily stick back on again.
Honestly, the fabric went up easier than I had imagined in there. The hard part/time consuming part was the ‘prep’ – getting everything out, dusting off, taking shelves out, all that. The starch part and actual getting the fabric up went quickly. Then there is the time waiting for the fabric to dry before you can trim up the edges – all your dishes, cups and mugs have to live someplace else for about half a day ; I just stacked everything up on our center island, wasn’t so bad.
For those of you who are visual learners like myself, here is a handy video to walk you through the steps on how to get this pretty fabric up in a cupboard or wall…
VIDEO TUTORIAL
Well I hope you enjoyed this how to put up Fabric Wallpaper with Starch in your kitchen! Leave a comment, love to hear from you and subscribe to this blog for more clever DIY projects – I always have a couple in my back pocket. Can’t wait to share the next one with you.

I am actually happy to glance at this webpage posts which consists of plenty
of helpful information, thanks for providing these data.