DIY Emoji Ornaments
I’d like to introduce a talented crafter and old friend of mine as a guest blogger on Funkitch. Her name is Jen Grech. We met when our first kids were small babies and have stayed connected through Facebook and through a mutual friend. Only recently have we discovered that we share a passion for creating and crafting. Jen has two sweet boys and an adorabe pup. Here is a pic of beautiful Jen and a pic of her kids –

beautiful and talented Jen!

Jen’s Kids
A couple weeks ago I fell in love with a craft that Jen shared on Facebook – Emoji Ornaments. She made them for a friend of hers that loves, loves using emojis. My girls are very into the whole emoji world these days and I immediately asked Jen for instructions on how to make them. She shared with me that she used instructions from a blog but made adjustments. I really liked the way Jen’s came out and since she used entirely different materials than the original blog where she got the idea, I asked her to write out instructions and do a guest blog post for me.
It is 3 days before Christmas and this amazing woman sent me step by step pics and detailed instructions on how to make adorable emoji ornaments with Jen’s special tips and touches. Thank you Jen!
Without any further delay, here are the instructions.
Supplies
Circular Cookie Cutter (mine was 3 inches around) or top of a glass/plastic cup
1 Lb block of yellow Craft Smart Polmer Clay – 1 block yeld about 13 emoji ornaments
Craft Smart Paint Pens in White, Black, Light Blue, Red and Pink ( I used a medium tip)
Egg beater ( I used the top to punch a hole in the ornament) or end of shish kabab stick
1. Pre-heat oven to 275 Degree
2. Line a baking sheet with parchment paper
3 Divide clay block in half and soften with your hands a bit before rolling out into about 1/4 inch thickness
4. With your cookie cutter press out a circle and with the top of a egg beater punch a whole so you can hand the ornament
5. Place the circles on the lined cooked sheet and bake according to instructions (about 20 minutes)
6. Once they are cooled, sketch the faces I in pencil. Go back over with the paint markers. You may need to go over a few of the colors more than once.
7. Cut a piece of twine (I used bakers string), feed through top hole and tie the ends together.
That’s it! Jen, you are a brilliant crafter – thank you!
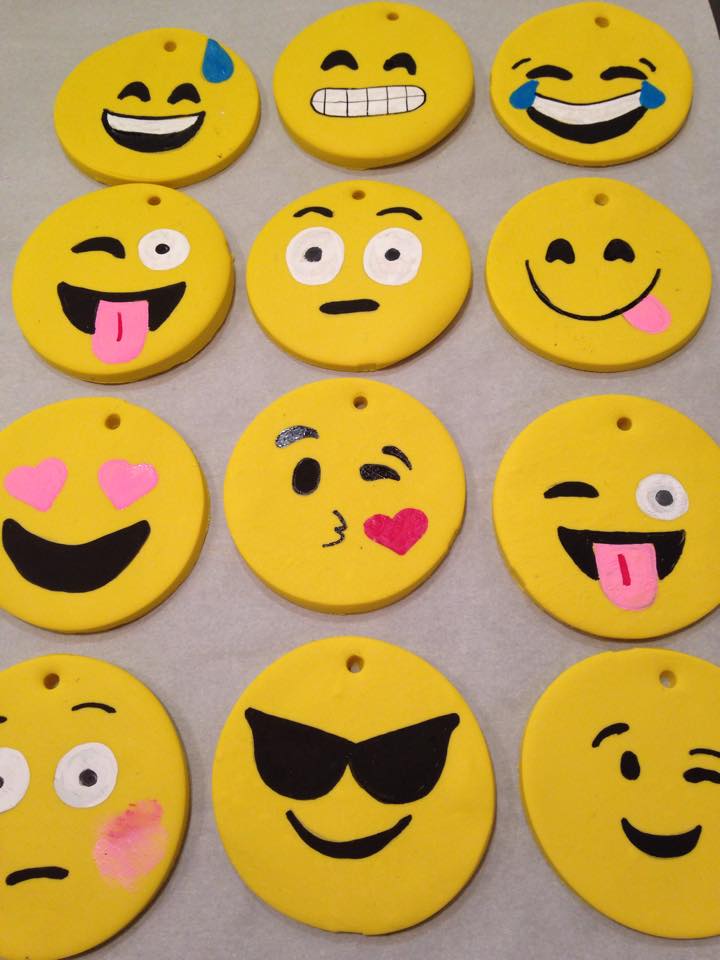
Here are some pic’s Jen kindly sent over to me with hopes that they will be helpful in putting these together.

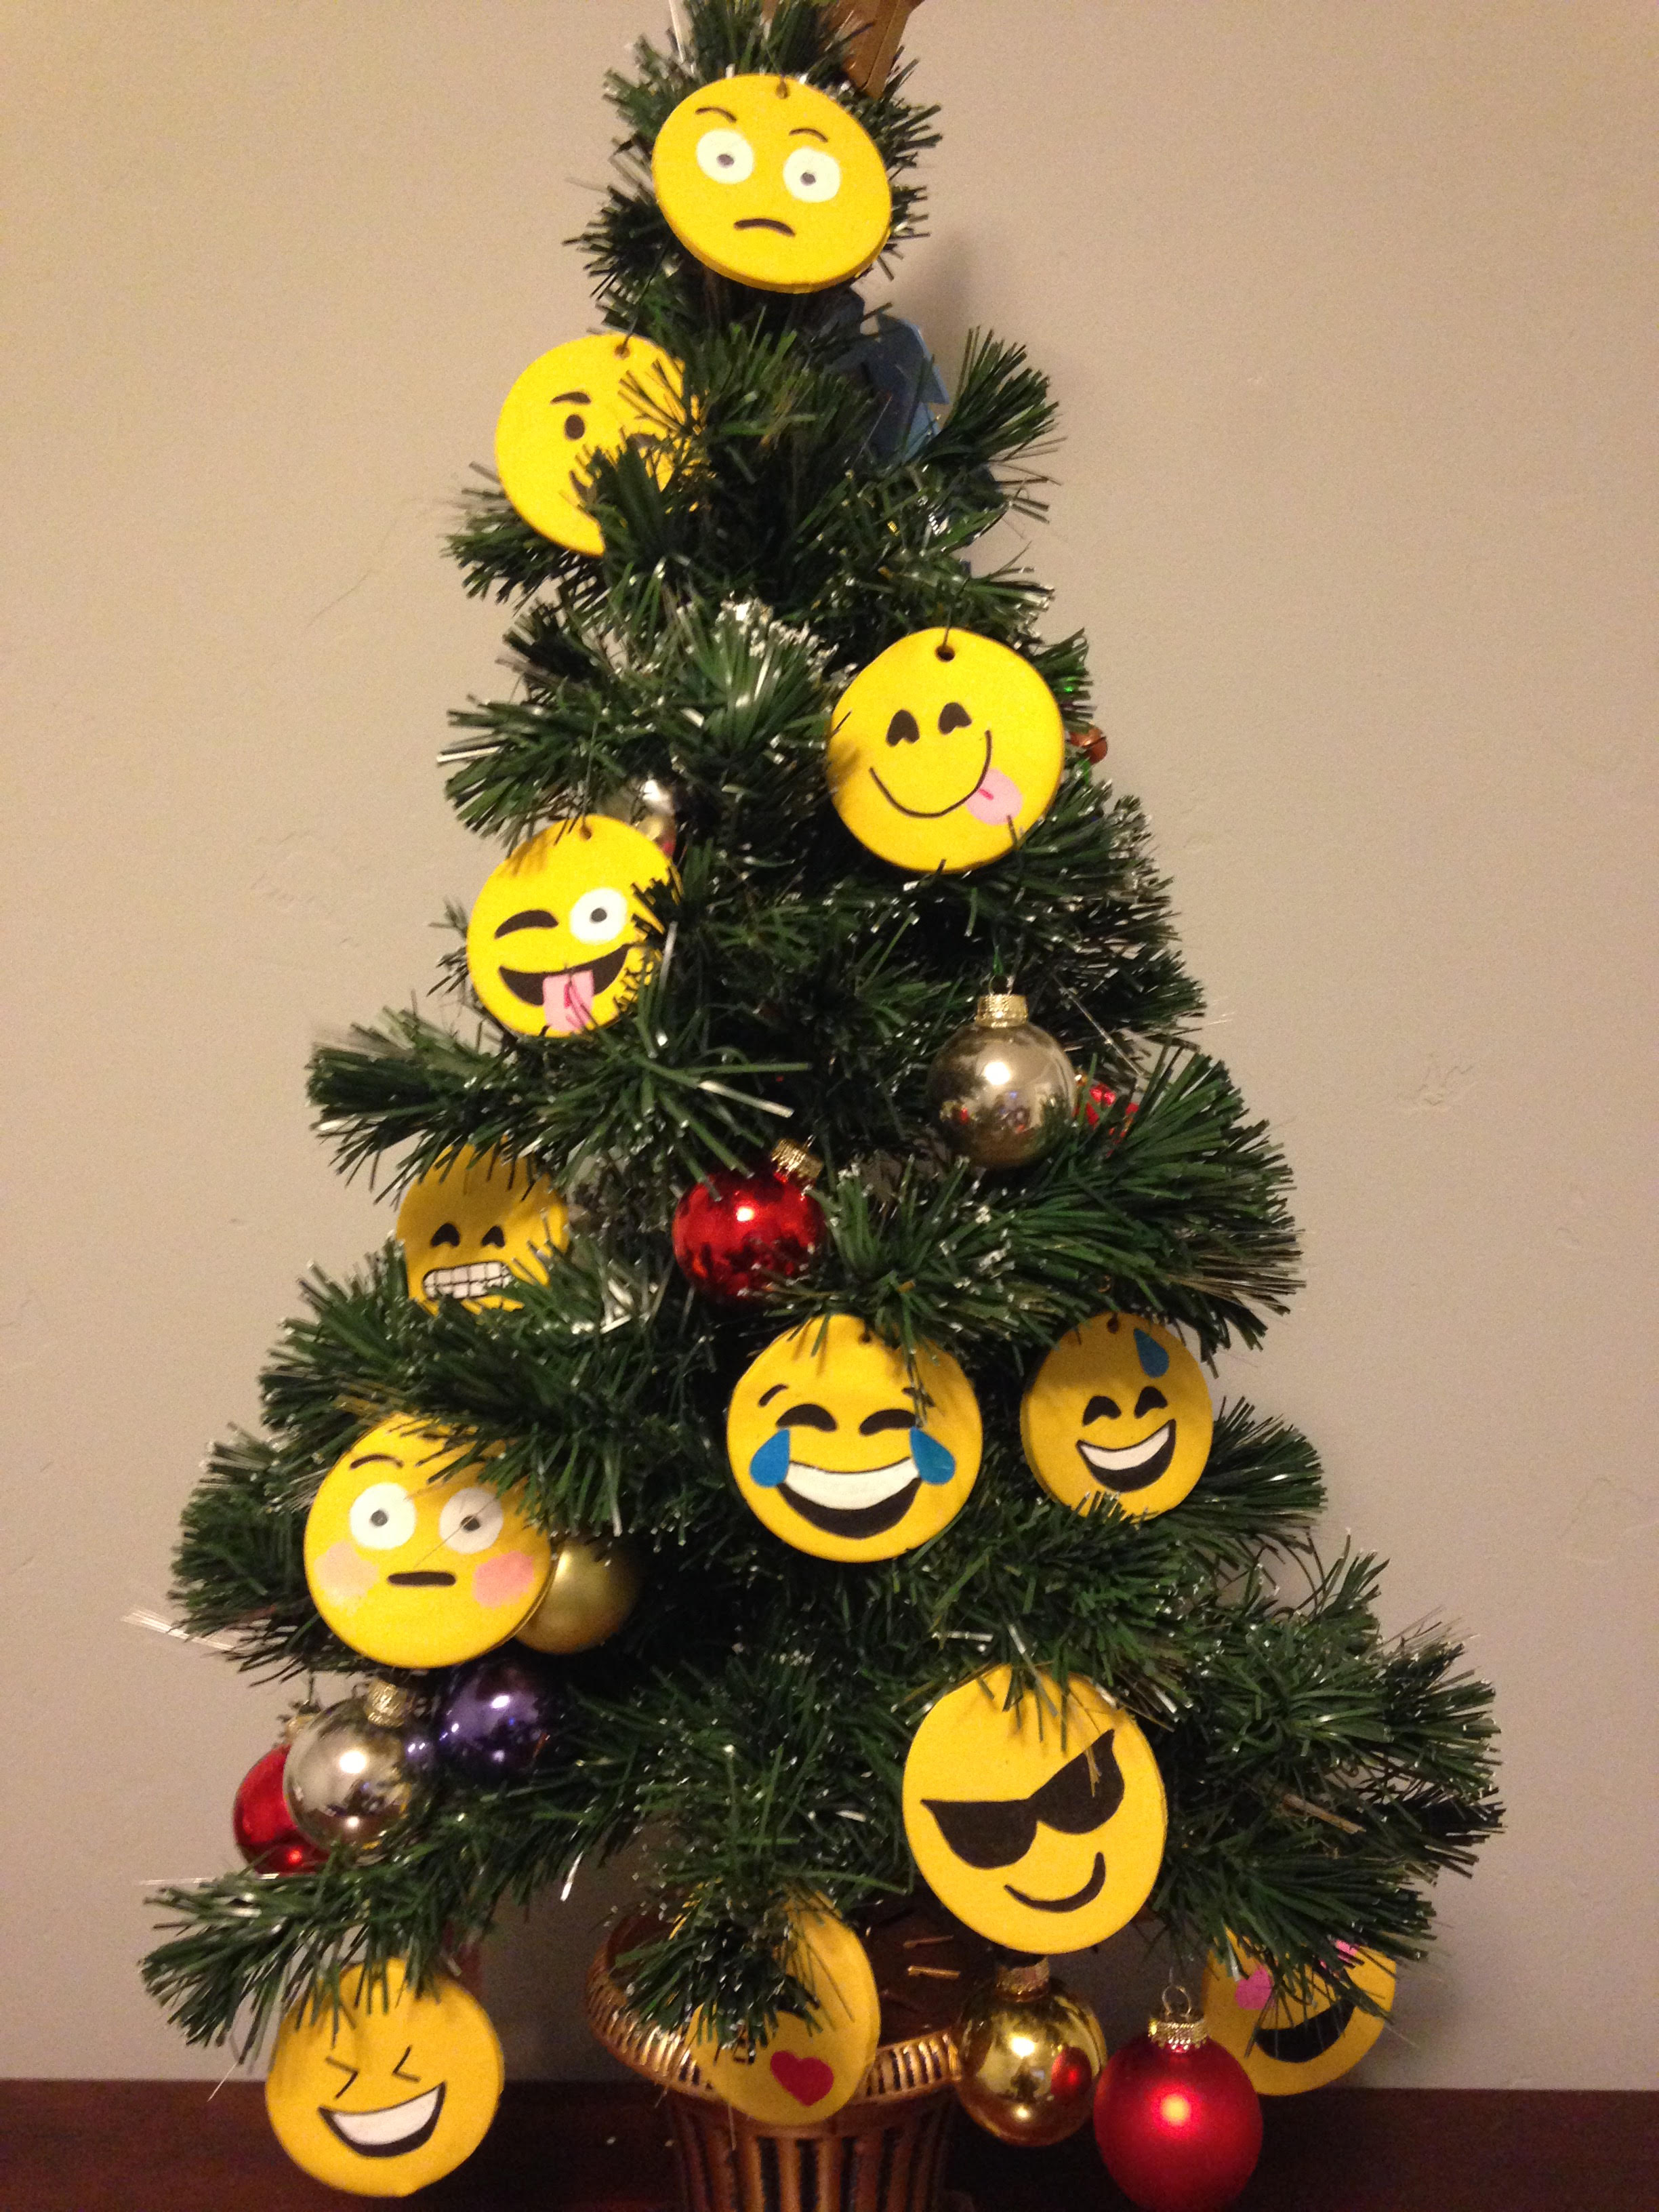
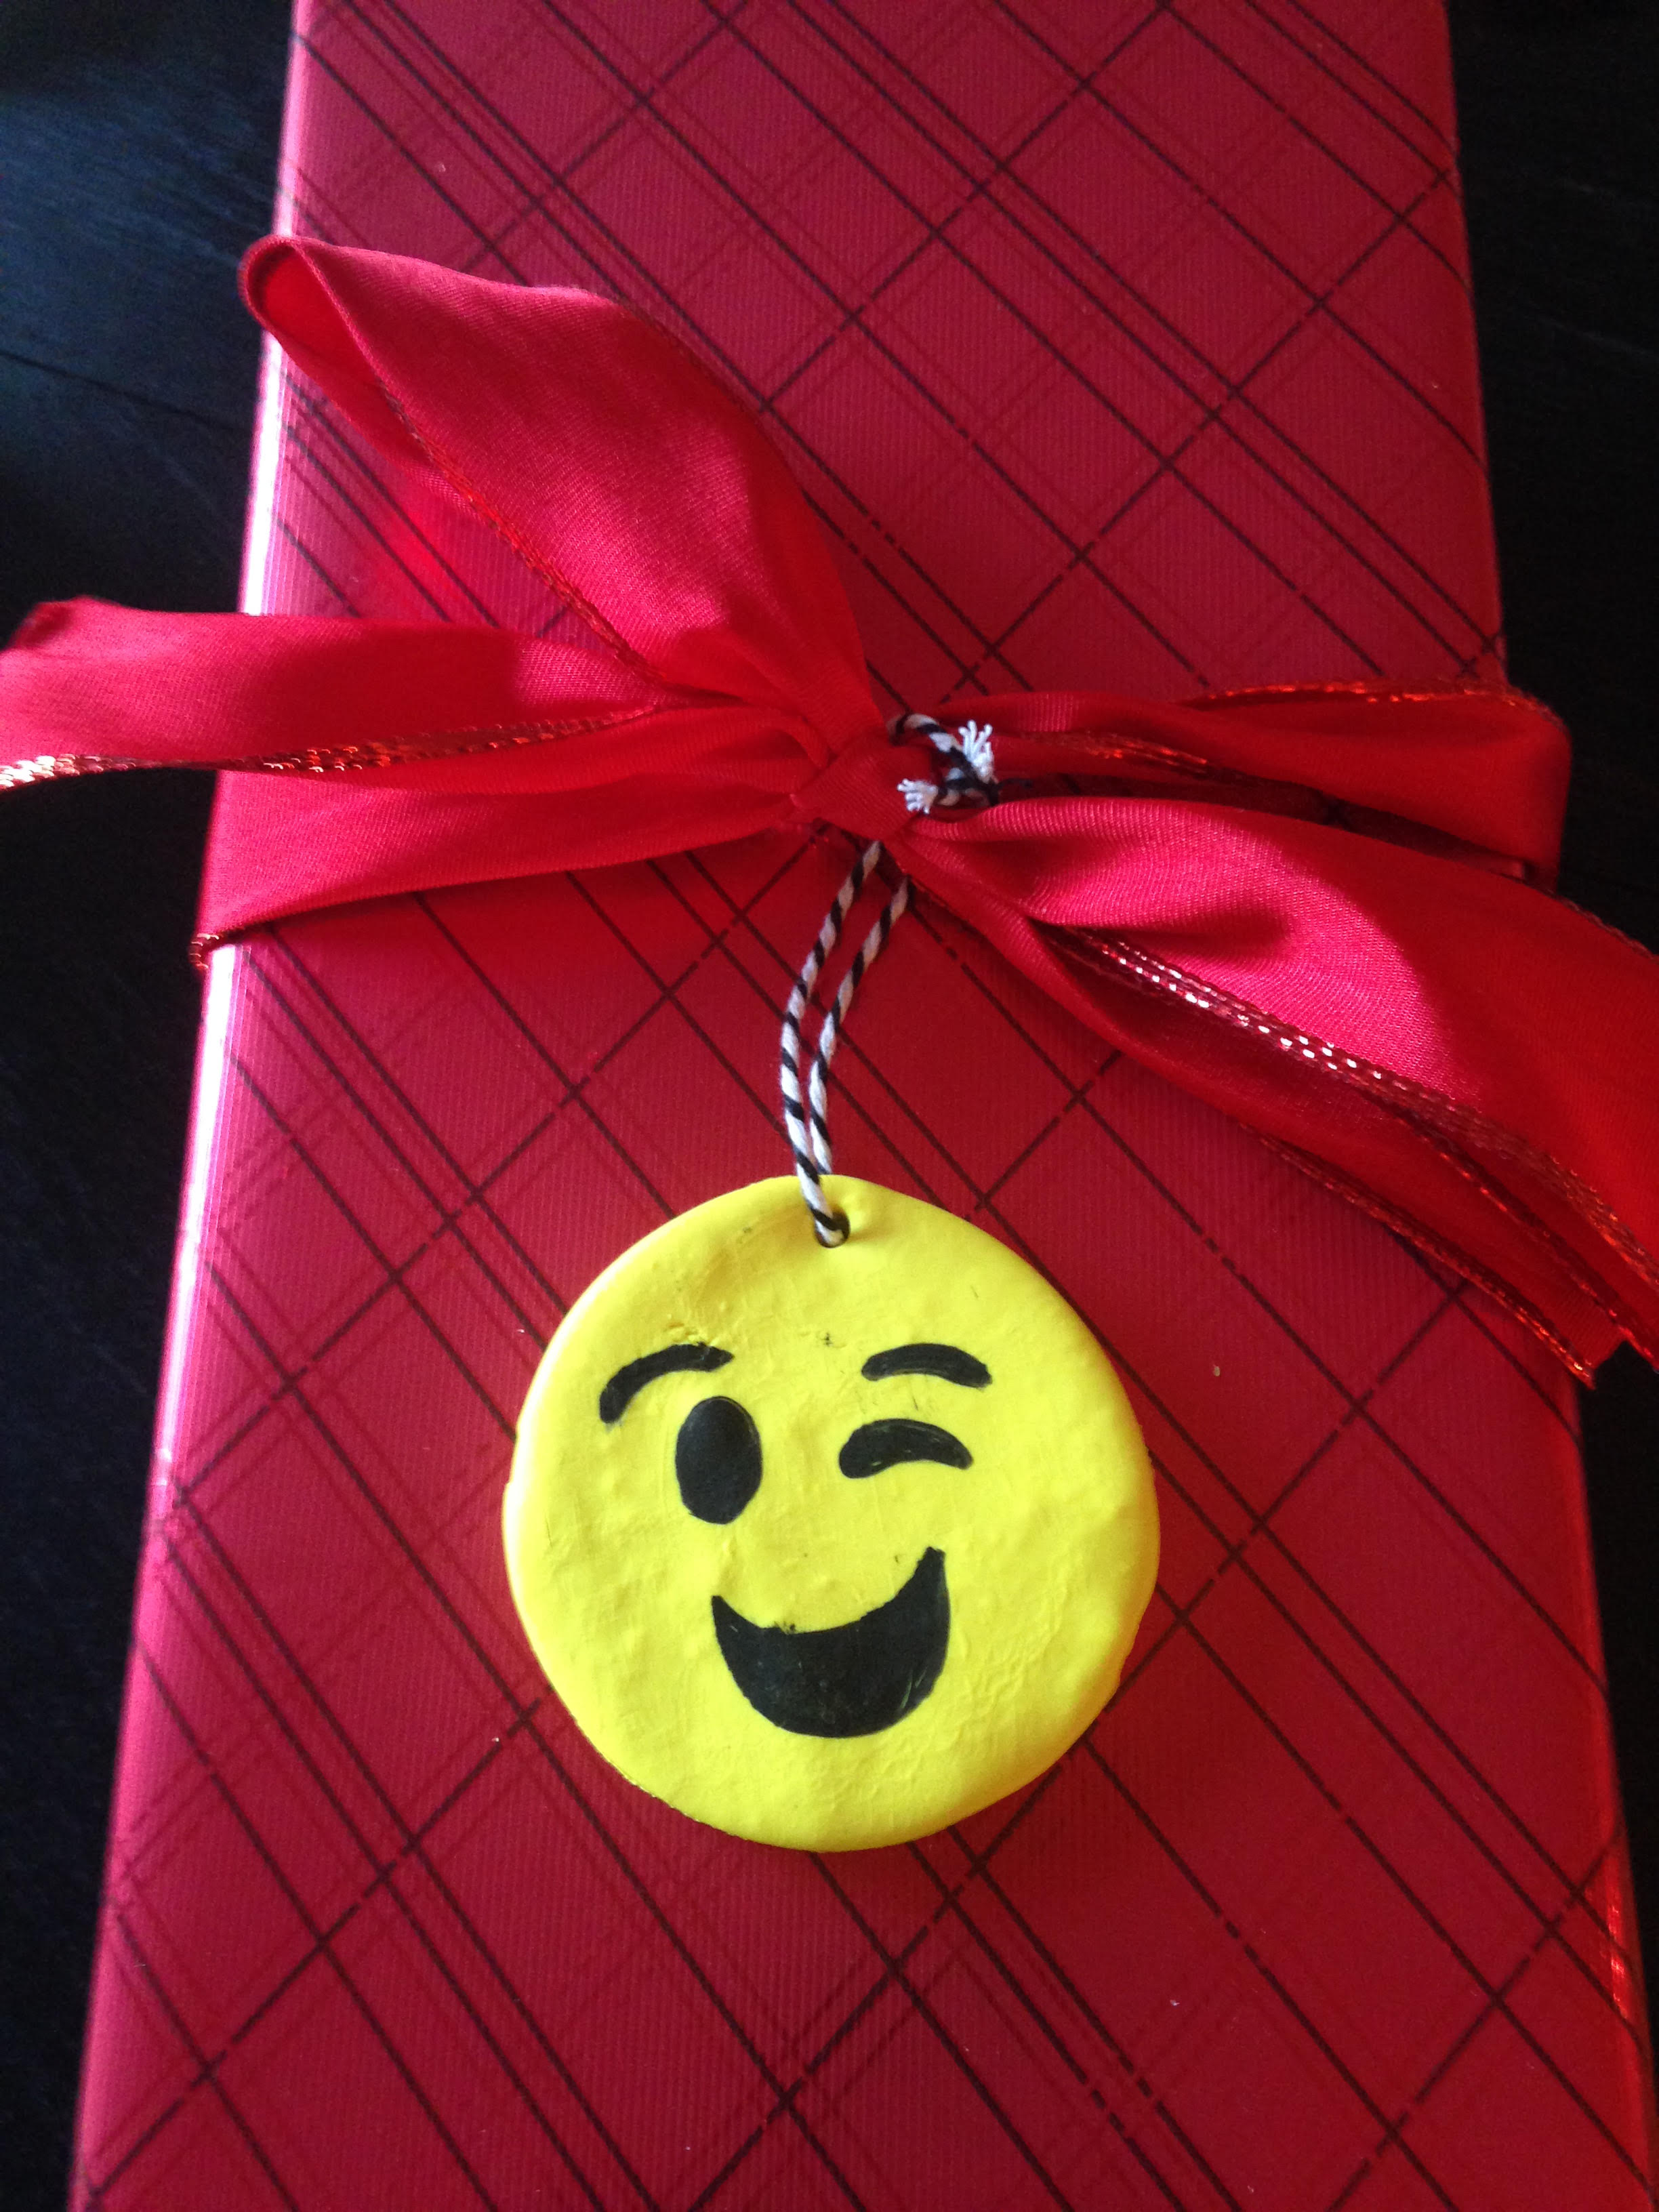
These darling little DIY Emoji Ornaments make great tree ornaments, gift toppers, and teacher’s gifts. We all have that friend that loves to use emojis (myself included!) – fun little gift idea. Teenagers love them too.
Hope you have fun making your own DIY Emoji Ornaments!
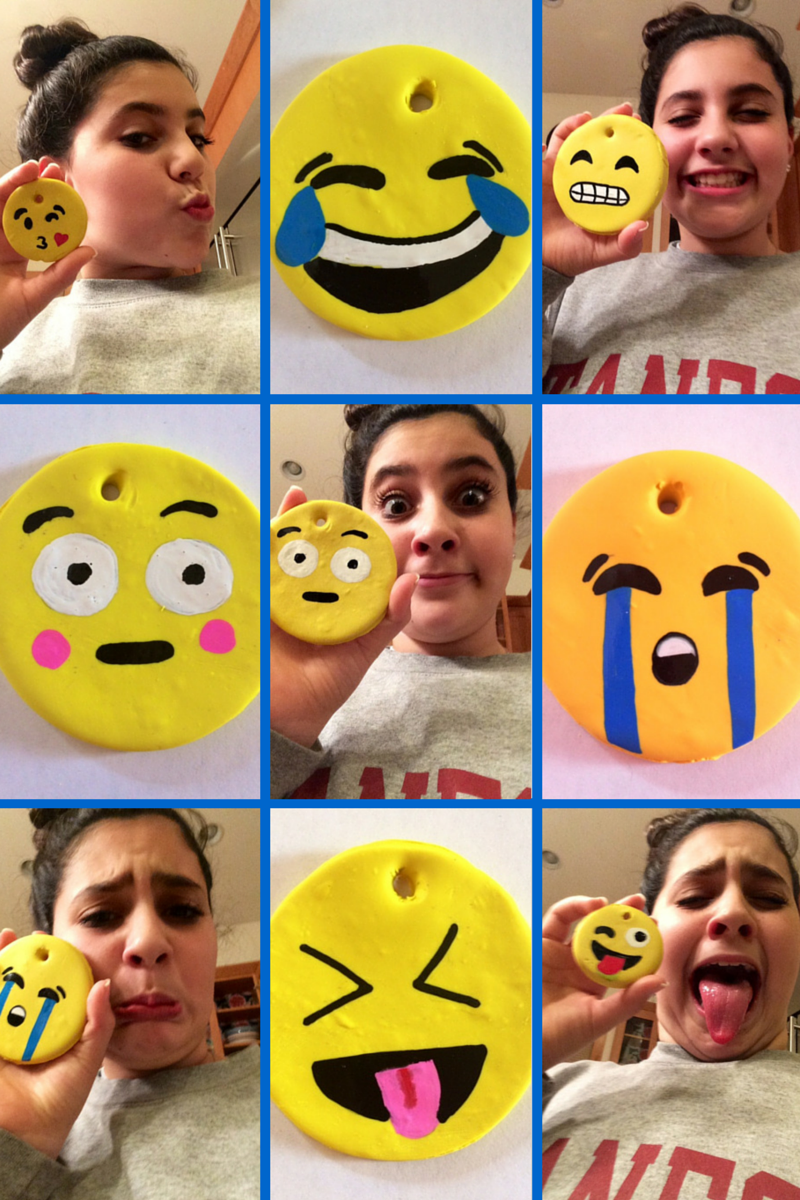
Our girls had a ball making all kinds of emoji faces! Silly, silly!


So cute, Bita! How did they taste?
Hi April! They would make super cute cookies too! Great idea 😉 We used polymer clay which you bake so they get hard. Then we used paint pens (Sharpie makes them and also CraftSmart makes paint pens). They take a few minutes to dry. I just packed away all our Christmas stuff yesterday. I put tissue paper between the emoji ornaments since they felt a little tacky from the paint pen and I’m hoping they won’t stick. Love to put them back out again next year. You should make them with your girls just for fun! You can use them for little bday gift tie-ons or decorations 😉
Whoops! Had I read the post more carefully I would have realized they were for decor only!!
:)) that’s funny April – other people have thought they were cookies too 😉
Hi blogger i see you don’t earn on your site. You can earn additional
money easily, search on youtube for: how to earn selling articles